
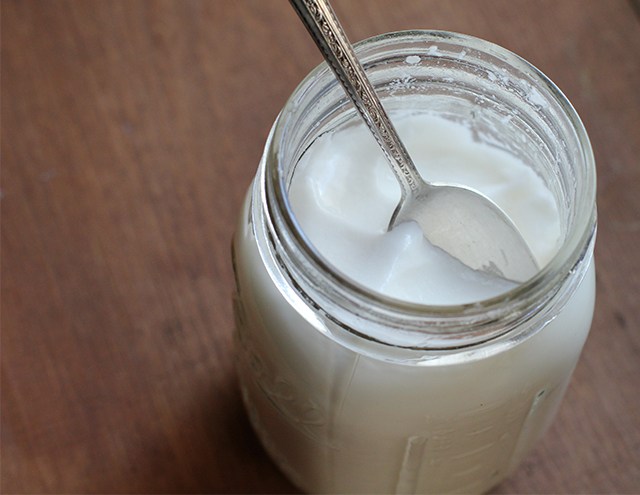
My Favourite Coconut Yoghurt
Yes of course its home made. 🙂 I tried all the ones on the market and they were either tooooo sweet or not the creamy consistency that I loved. So I mish mashed a few of my favourite yoghurt recipes together with local ingredients available in Bangkok and voila.
I have a Thermomix. However you don’t need a Thermomix to make this yoghurt. I will make notes below on how to alter.
Makes approximately 8 cups of delicious creamy coconut yoghurt
Ingredients and Equipment:
(These are the actual brands I used – not a promotion for them, its just because I find using different brands and ingredients yields different results)
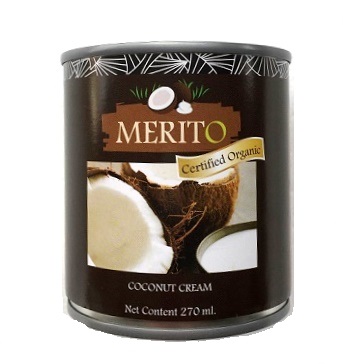
- 3 cans 270ml Merito Organic Coconut Cream, or up to a litre of fresh coconut milk from the fresh market (I like to use fresh coconut milk when I can.)
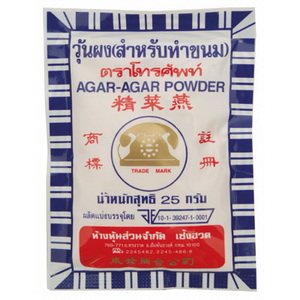
- 1 heaped Teaspoon Agar Agar powder (วุ้นผง)
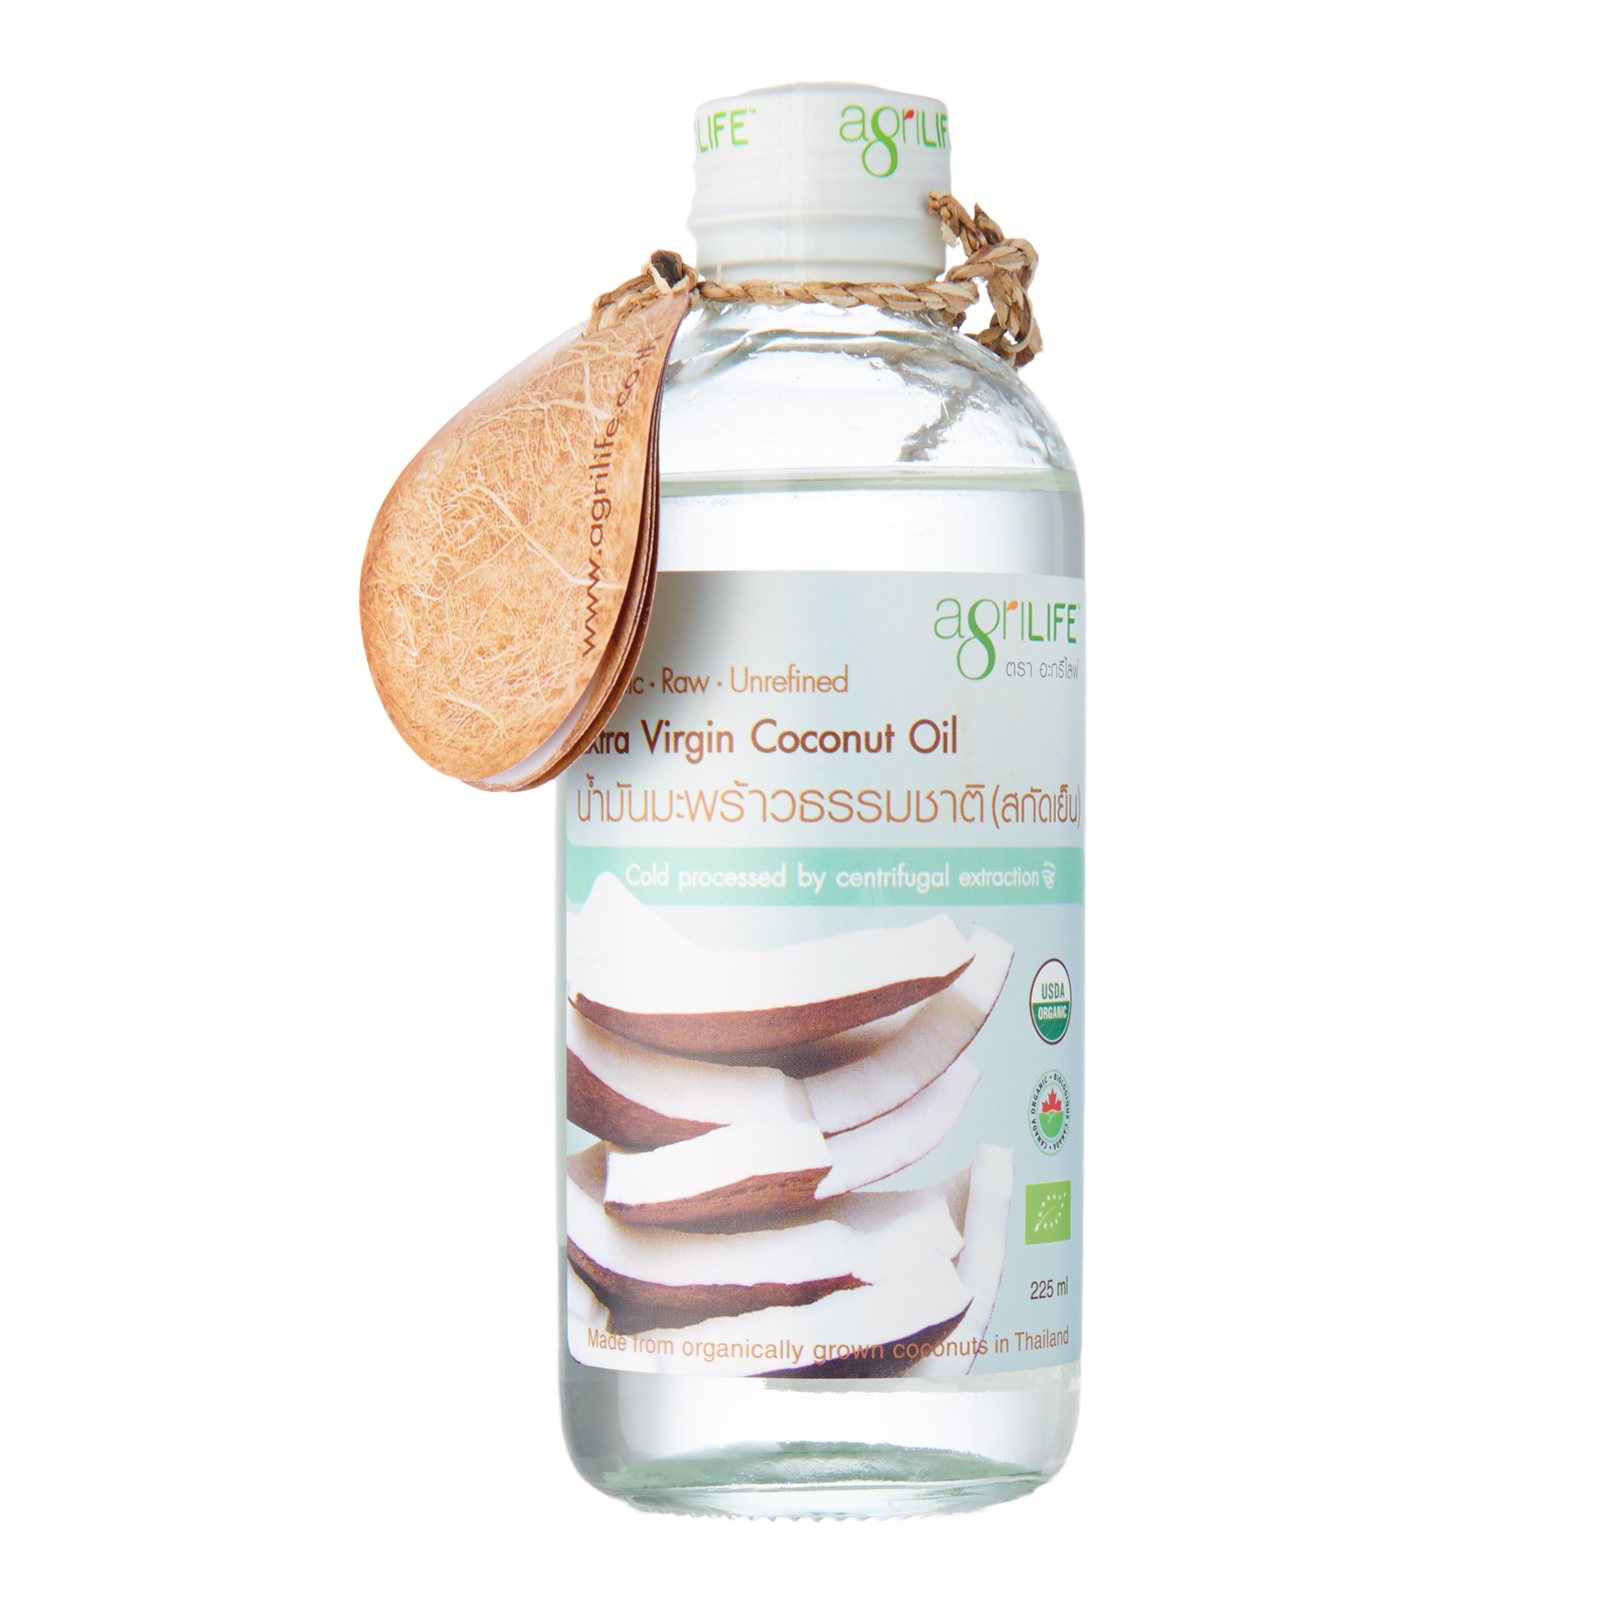
- 2 Tablespoons Agrilife Extra Virgin Organic Coconut Oil
- 2 Tablespoons Organic Tapioca Starch (I use this brand which I bought from the Organic Fair at Sirikit http://www.sea-organic.com/tapioca.html )
- 1 Tablespoon of Organic Maple Syrup (Can substitute with Organic Cane Sugar or Organic Coconut Nectar if you prefer. Do not substitute with Honey as Honey is antibacterial and will kill your yoghurt culture.)
- 250g of Organic Dairy Yoghurt (I use Butterfly Brand as it doesn’t contain any fillers) or if you want to make a vegan yoghurt, then alternatively you can use 2 capsules of Dairy Free Probiotic Capsule, (40 billion or more bacteria needed) Do not use a flavoured Probiotic or Yoghurt as it will affect your outcome.
- Airtight glass jars for storing the yoghurt. These need to be properly washed and then sterilised with hot water. You can pour boiling water all over the glass jars and the lids. ( I used 8 old peanut butter jars or jam jars. You can use whatever you like. You can also use mason jars, and even glass pyrex bowl. It needs to have an airtight lid and be completely clean.)
How to:
- Make sure your Thermomix bowl is sparkling clean.
- Add the Coconut cream or milk, Agar Agar and Coconut Oil to the bowl. Cook 10min/100C/sp 5/MC on .
- Add Tapioca Starch to the bowl. Cook 5min/37C/sp 5/MC on.
- Remove the bowl from the machine. Remove the lid from the bowl. Cover with a cloth and leave to cool for 2 hours.
- Check if the temperature is below 37C by putting the bowl back on the machine. The temperature light will show you what the temperature is. If after 2 hours, its still too hot, leave it for another 20 minutes and check again. Once you no longer have any lights lighting up when you place the bowl back on the machine, you are ready to put your starter in. (If you cheated and cooled it in the fridge to save time, or forgot about it and let it go way past 2 hours and you feel that the temperature is way lower than 37 degrees, you can mix for 5 min/37C/sp 5/MC on )
- Add your chosen starter (Either 250g of yoghurt or 2 probiotic capsules). Add your chosen sweetener (Either Maple syrup, Organic Coconut Nectar or your chosen sugar). Mix 20 secs/sp 5/MC on.
- Scrape down sides of bowl and Mix for 5 secs/sp 8/MC on.
- Pour the yoghurt into your glass jars. Carefully put all the lids on the jars and make sure the lids are tight. Leave for 24 hours in a nice warm spot in your kitchen covered with a tea towel. (Some recipes say to leave it between 12 to 24 hours. I find that the longer you leave it, the more sour and more like yoghurt it tastes. If you decide to taste it before its ready, use a clean spoon and if its not tangy at all, its not ready).
- Once incubation time is up, you can pop the glass jars into the fridge for chilling. After 12 hours, your deliciously creamy cold coconut yoghurt is ready.
Optional additional step:
If you would like to add actual coconut flesh/meat to the coconut yoghurt as it adds a whole other dimension of deliciousness, scrape some young coconut flesh from 2 fresh coconuts (about 200 grams worth). After Step 8 above. Open the glass jars and add a little flesh to each jar and give it a good stir. And then pop it in the fridge for Step 9.
If you don’t have a Thermomix:
Step 2: Put everything in a stainless steel pot and bring it to a boil on the stove. Stir continuously to make sure nothing sticks to the bottom of the pot. I like to use a whisk to stir. Set your timer so that the timing is about 10 minutes. The reason for heating it so long is to make sure the Agar Agar dissolves.
Step 3: Take the pot off the heat and add the tapioca starch and keep stirring/whisking for 5 minutes until the starch is fully dissolved.
Step 4 and 5: Wait for it to cool. You can measure it with a thermometer if you like. If you don’t have a thermometer, it should be tepid.
Step 6: Stir/whisk in the starter and give everything a good mix. If you have a cake hand mixer this would be a good time to use it. Give it a mix for about 20 seconds. This makes the yoghurt fluffy and creamy. You can also skip this and just stir everything with a whisk and your good old hands.
Step 7: Scrape down the sides of the bowl and mix again.
Steps 8 and 9: The same as above.