

The Fermentation Bug has bitten me! With a few milk kefir grains gifted to me by an expert local fermenter Halima Andrasi, I started my kefir journey a few months ago and it has changed my life. More about how amazing kefir is in another article. For now, I wanted to share a straight forward method for making Traditional Milk Kefir. Very useful for those of you who have been gifted some grains and want to get going. Happy Fermenting!
TRADITIONAL MILK KEFIR (MK) RECIPE
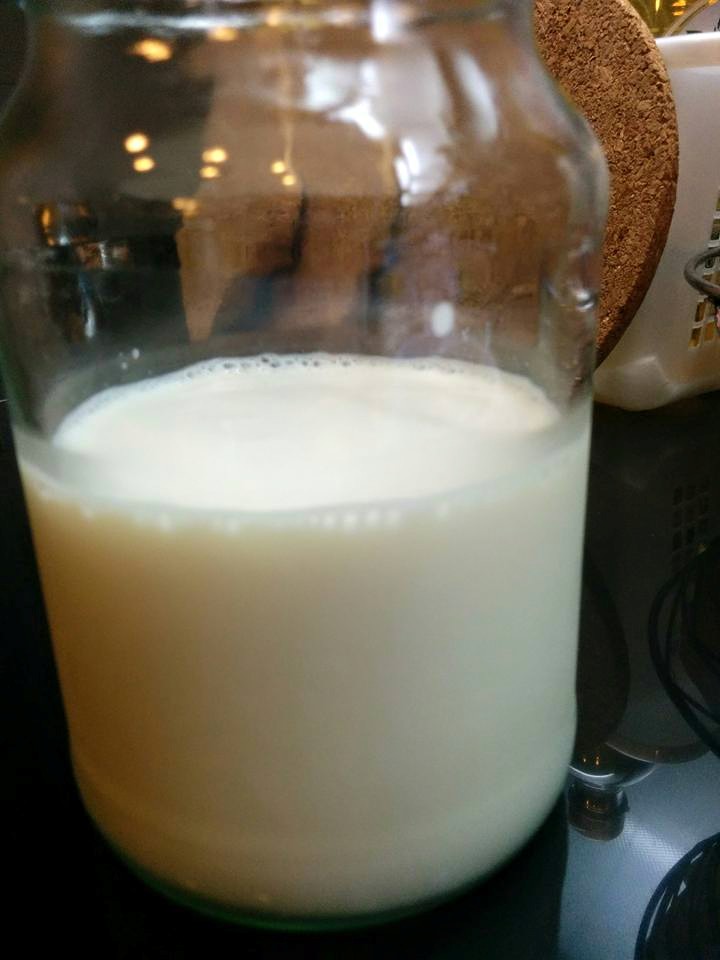
 First Ferment

Ingredients:
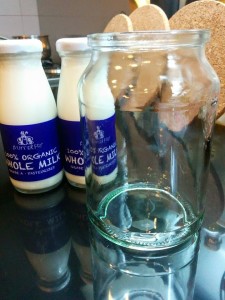
- 1 Cup Certified Organic Milk (I use Butterfly, but you can use Diary Home, or any other milk)
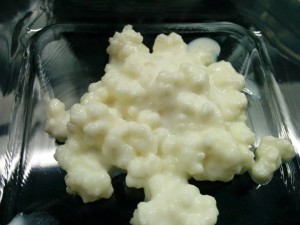
- 1/2 to 1 Tablespoon Milk Kefir Grains
Equipment:
- Glass/Ceramic Vessel with a broad mouth and broad base (Glass allows you to see what’s happening with the ferment easier)
- Plastic/Silicon Measuring Spoon
- Plastic/Wooden Mixing Spoon
- Unbleached Paper Towel , Muslin Cloth , Coffee Filter or plastic lid
 Piece of string or Rubber band
- Plastic/Nylon Sieve
- Plastic/Silicon Funnel (May not be required depending on whether your sieve fits in the mouth of your 2nd Ferment jar)
- Measuring Cup or Bowl if you want a vessel to sieve your MK into easily.
- Glass/Ceramic Jar for 2nd Ferment

Method:
- Fermenting the MK:
Put milk in Glass/Ceramic Vessel. Add the Milk Kefir Grains.
Cover with an Unbleached Paper Towel/Muslin Cloth/Coffee Filter and secure with a piece of string or a rubber band.
Leave to Ferment in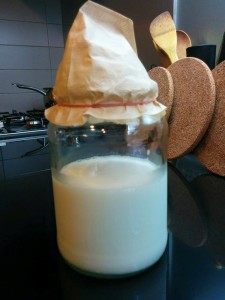 a dark cool place or wrap around the vessel with kitchen towel and keep on the counter in cool place. Some people put the vessel on top of their fridges (so when opening and closing the fridge, the vessel shakes, and kefir grains like to be shaken once in a while), so go ahead shake the vessel every time you pass by it.
Fermentation time:
12 to 24 Hours (depending on the temperature in your home)
After 12 to 24 Hours, it’s time to take the grains out! - Straining the MK:
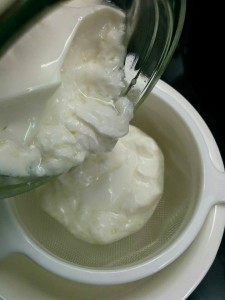
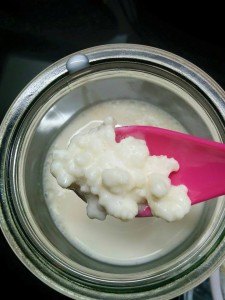
Place a sieve over a large mouth jar (or a measuring cup or bowl -if the jar mouth is too narrow). Gently stir the kefir, then pour it through the sieve. (If you don’t stir it, it will be more difficult to sieve.) Continue pouring all the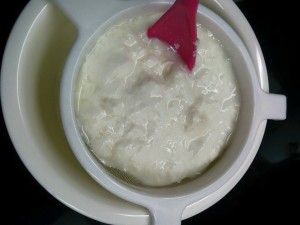 kefir into the sieve, using a spoon gently stir until only the grains are left in the sieve. If straining the MK into a measuring cup/bowl, then pour the strained MK into any glass bottle or jar for 2nd Ferment.
Now to take care of the Milk Kefir Grains that have been left behind in the sieve. - Storing the grains:
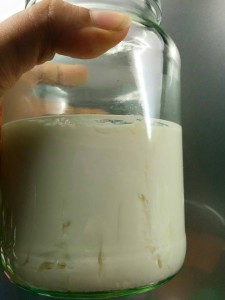
Place the Milk Kefir grains in a glass jar with some milk, close the lid loosely and place the jar in your fridge for storage.


Ripening and Second Ferment
Option 1: Ripening
For a simple Milk Kefir, you can close the lid on your 2nd ferment jar and place it back in the same spot that you chose for your first ferment.
Ripening time is about 2-6 hours. (Bangkok Heat is quite intense, you can leave it up to 6 hours but be 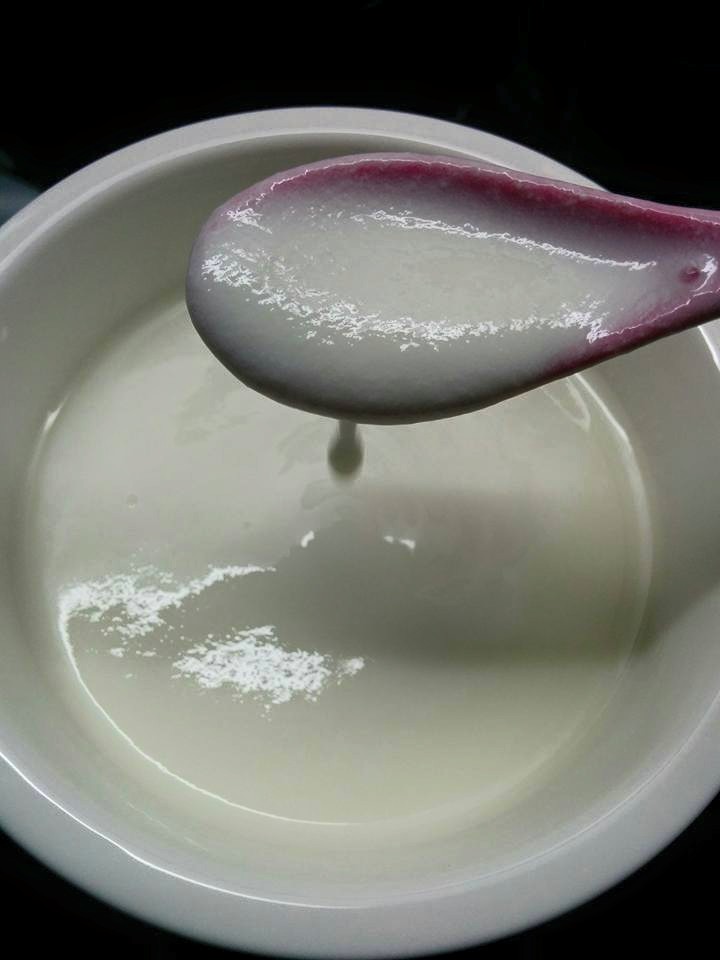 careful, the MK may separate into whey and curds if left to ripen for too long.) Once you are done with ripening the kefir, pop it into the fridge for a few hours to chill. And voila it’s ready!
Option 2: Milk Kefir with Orange Rind
If you would like to experiment with a more fancy 2nd ferment, you can use fresh or dried fruits.
For this recipe, we will use some orange rind. Grab an organic orange and beautifully cut a big slices of rind. Place the rind into the 2nd Ferment Jar with the Milk Kefir. Close the lid. Place it back in the same spot that you chose for your first ferment.
2nd Fermentation time:
2-12 Hours (Bangkok Heat is quite intense. You can leave it up to 12 H but be careful, the MK may separate into whey and curds if left to 2F for too long)
Once you are done with your 2nd ferment, pop it into the fridge for a few hours to chill. And voila it’s ready to enjoy!
 Note: Temperature plays an important factor in the thickness of the kefir. It’s been really hot lately so you might notice that your MK is not as creamy and thick as before. The MK is still full of probiotics, even if it’s not thick and creamy.
Keep in mind too that not all grains are alike. Beginners can start with a ration of 1 Tbpsn MK grains to 1 cup of milk, and stop the 1st ferment when there are little whey pockets on the side of the jar, and the kefir “pulls” away from the sides of the jar, like yoghurt.
If you would like more information on all things fermentation in Bangkok, you can join https://www.facebook.com/groups/bkkfermentation/ Bangkok Fermentation Group on Facebook! Happy Fermenting.